Some students have completed Stage 4 and Stage 5 Textiles. Some engaged with textiles through relatives. Some only completed Stage 4 Textiles and then you get the ones who have never sewn in their life.
What do you do?
 |
| image from: www.wisdomwordsppf.org/2017/02/10/stress-social-justice-american-psyche/ |
What I do:
I have a very brief heart palpitation as i read the "welcome to textiles" sheets i handed out (a great little form i created, that takes 5 mins of the students time, the first time you meet them, to fill out and tell me about themselves including their sewing experiences, whether they might have a machine or a sewing parent at home to help them, projects they have made, best email to contact them on etc).
There is always a range of skills and abilities and experiences that the students have and it is important for you to recognise this before they begin to sew.
The ones who have sewn before want the cudos. Make them feel like they are the elite group who you expect, will probably speed through projects. Make them understand that you need them to complete these activities so you can see what they really can do.
The ones who are nervous or have never sewn before - explain they are in a safe place where they have the chance to develop some really great skills and that it is ok for them to ask the more skilled students to lend them a hand at any time.
PS. You will will be so grateful for the experienced student who jumps in and shows the learner how to fill a bobbin or change a needle when you are so very busy helping others!
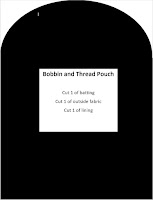
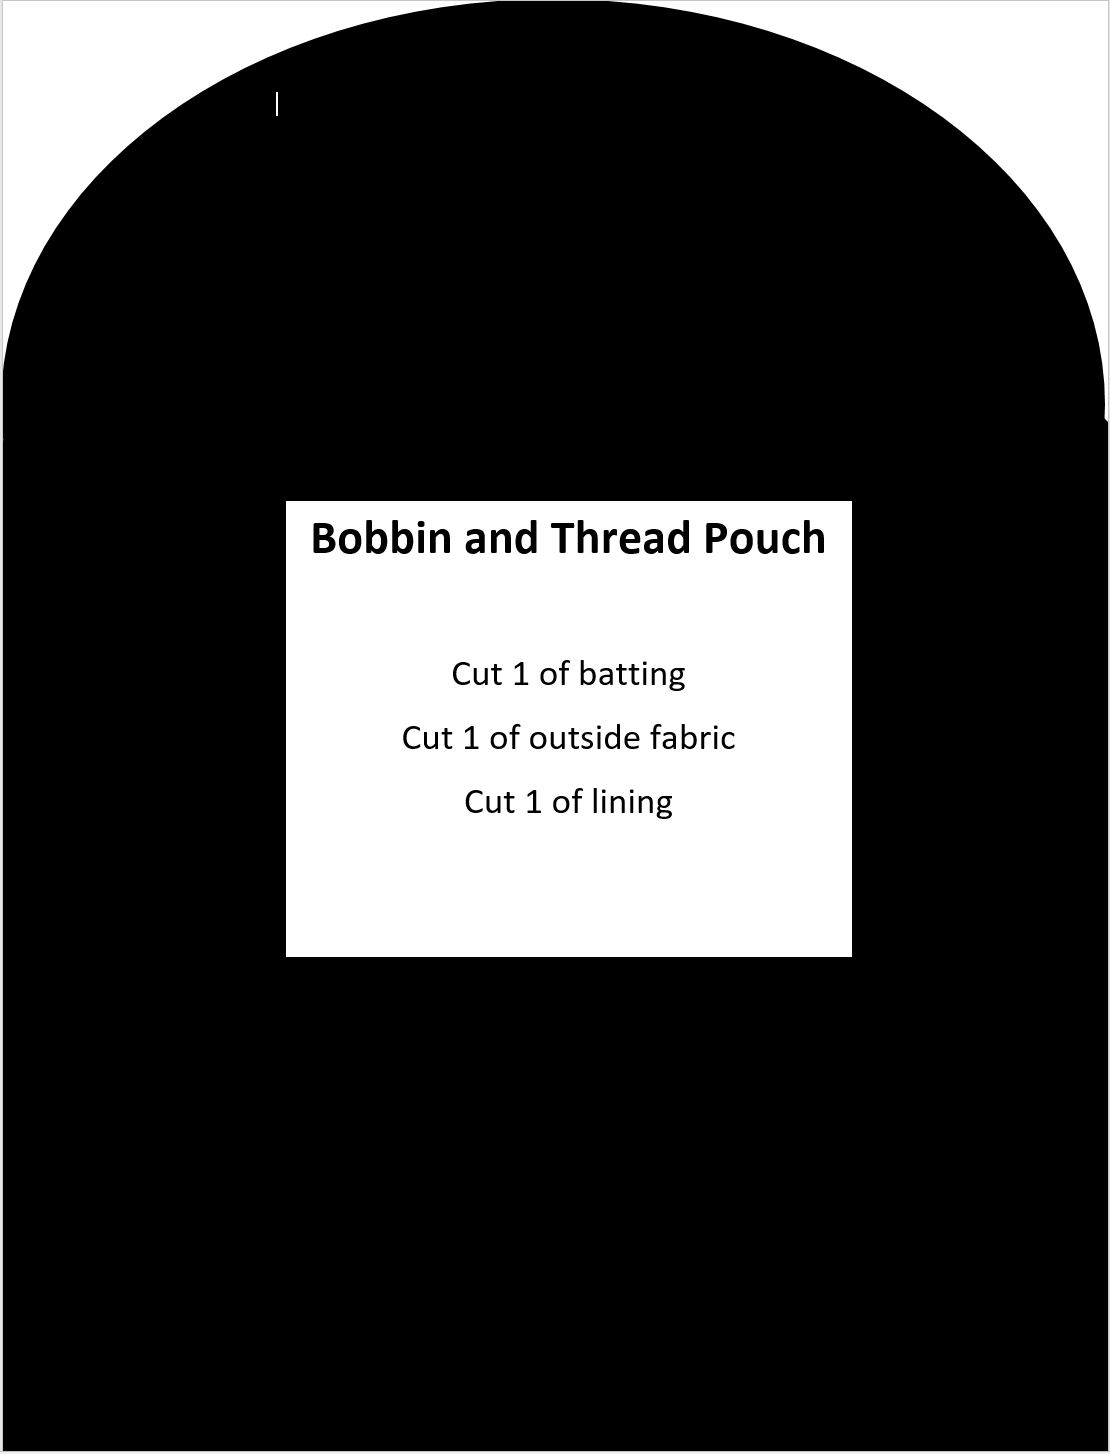
First mini project- just to build skills and get the students familiar in using the machine is the Bobbin and Thread Pouch. Your skilled students will go that one step further and come up with something truly inspiring.
I did a few samples for the students to gauge their abilities and inspire them to develop and use the skills they currently have and may have not ever used!
 |
| I used one of the scraps, free-motion in green and then made a fabric flower to hand stitch on top. I keep this as a flat demo piece to show them how to add decoration and work with colours. |
I get them to use the scraps box - box of donated fabrics, beads, lace, ribbons, buttons etc from the community including batting scraps.
(Good to have these available. If not then put the request in your school newsletter and let the local community know if loved ones pass on and they want to donate their loved one's fabric stash - your classroom will greatly accept these.)
PS If you have a sewing partner and you are not a teacher -
the local school ALWAYS love donations!

Okay back to the pouch.......
I provide the pattern to the students on pre-printed on cardboard via my gorgeous print lady (we would be so lost without our SASS (as they call them here in Oz).
I hand the patterns out and set the students loose in the scraps. (This is after we have done basic machine threading)
After they have selected, the students learn the following skills through experience:
* how to use a basic pattern
* how to use pins
* how to pin patterns onto fabric
* suitable fabrics to use (you can guide them or do what i do and let them choose and work out why
knit fabrics are not good. Why you need fabrics underneath lace fabric.
* how to look at the fabrics they have chosen and work with the colours and patterns to bring out
extra design (see whale photo)
* how to drop the feed dog and use a free-motion machine foot and get a feel of how the machine
works and how they can use their own movement to create a decorative design.
 |
| The whale pattern was already in the batik print on the fabric. I thread a bobbin with thick blue yarn and after stitching around the whales in normal thread, i turned it over and bobbin stitched the blue on. Then sitting in front of the TV i added beads. |
 |
| I keep this as a flat full piece to show the students that they need to think outside the box. |
Once cut out, the students learn how to do straight seams, finished with a zig zag, overlocked edge and how to shape seams.
I was donated a roll of velcro and we used this for the opening/closure treatment.
To finish off they could use a button or some sort of decoration on the top.
Here is some of my students work from 2018.
Here is some of my students work from 2018.
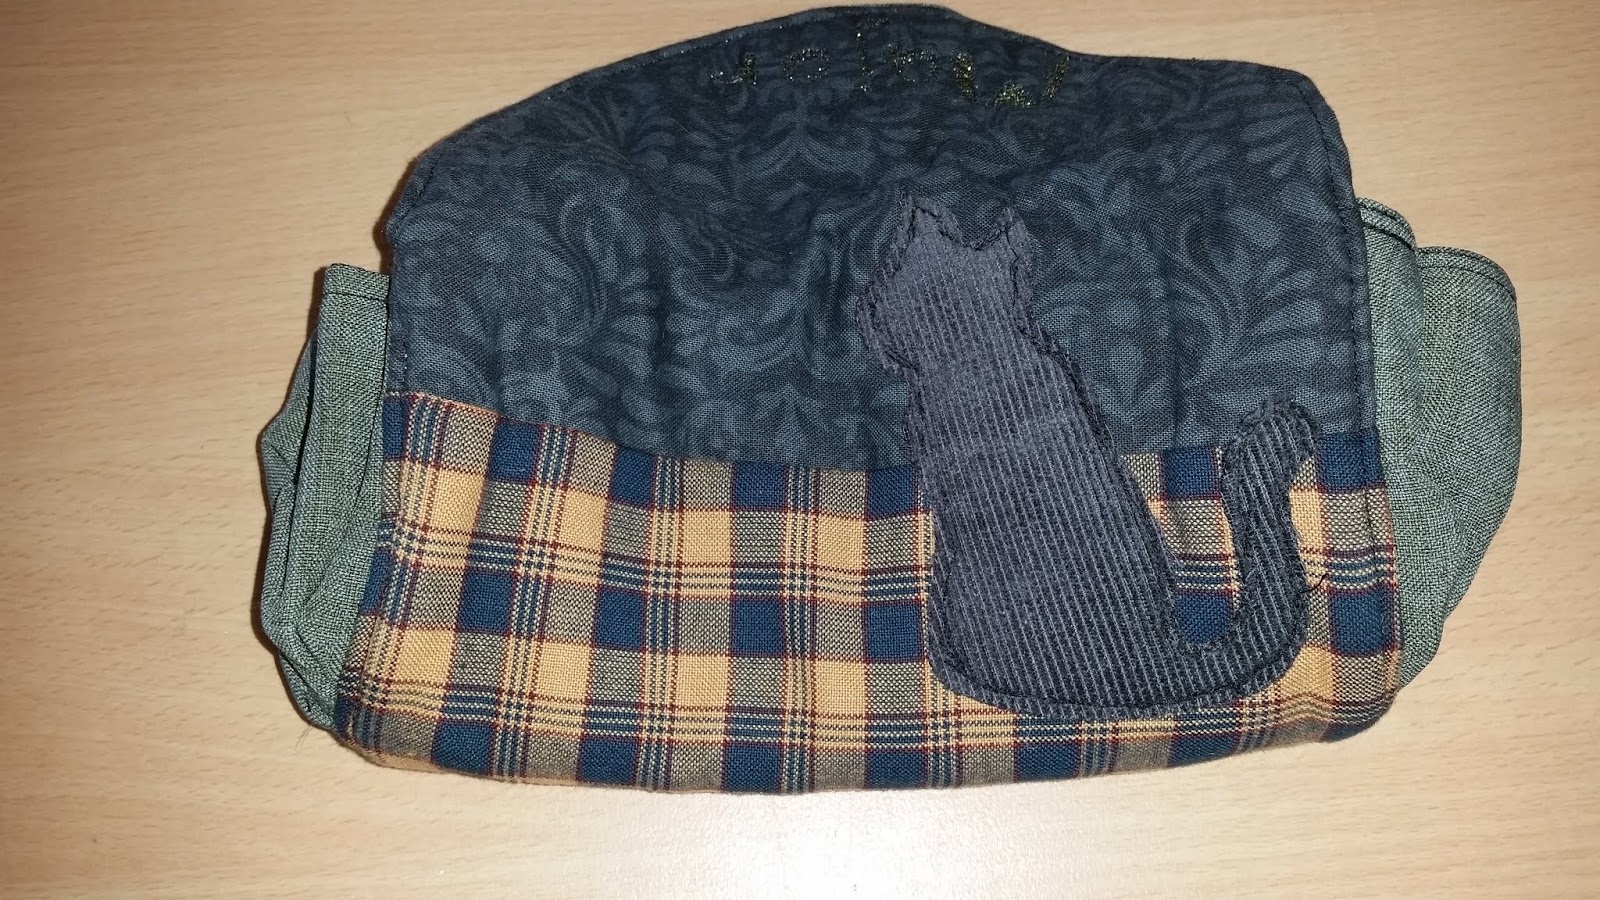 |
| This student is very creative. He took my pattern and modified it to be more useful to him. We used a stiff interfacing and created inserts as well. His inspired by the story of "Matthew Flinder's Cat". |
 |
| The inside of his pouch. |
 |
| Even the least motivated student can come up with something - she loved pink and still loves pink. |
 |
| Working with pattern and using the bead donations and the lace donations. |
 |
| Working with the jeans found in donations. Bit of an upcycle theme to this one. |
 |
| Using a tartan weave 70's fabric. Then added strips of fabric ad doing a reveal by adding an extra cut layer on the strips. |
 |
| Feel free to use this design. Print it on an A4 sheet of cardboard. You will need to increase it's size to fit an A4 page - Use of snipping tool and pasting it in a word document may help. Or use your wizard print lady! You may wish to come up with your very own design. |
By using this idea, you get your students excited and thinking outside the box about completing projects.
But most importantly you are ticking off those dot points and outcomes in the syllabus!
No comments:
Post a Comment