This is one of my most fave recipes of all time. I have seen versions like it in the Four Ingredients GF too since.
I have adapted the recipe so it is Normals friendly but of course my first prior if is to my GF peeps.
Recipe: MICHELLE'S YUMMY DESSERT or SLICE!
can be made the day before or two days before, just leave in fridge.
INGREDIENTS
BASE
1 gluten free pkt of golden butter cake mix OR a vanilla cake mix (no name brand works fabulously)
125g butter melted
OPTIONAL : 1 cup coconut
FILLING
420g can pie apple OR any fruit that will cover the base as long as it is cooked or softened thru poaching etc. (save the liquid from poaching and boil down to a syrup to pour over the top) see below for a simple recipe for this!!!!
TOPPING
2 large eggs
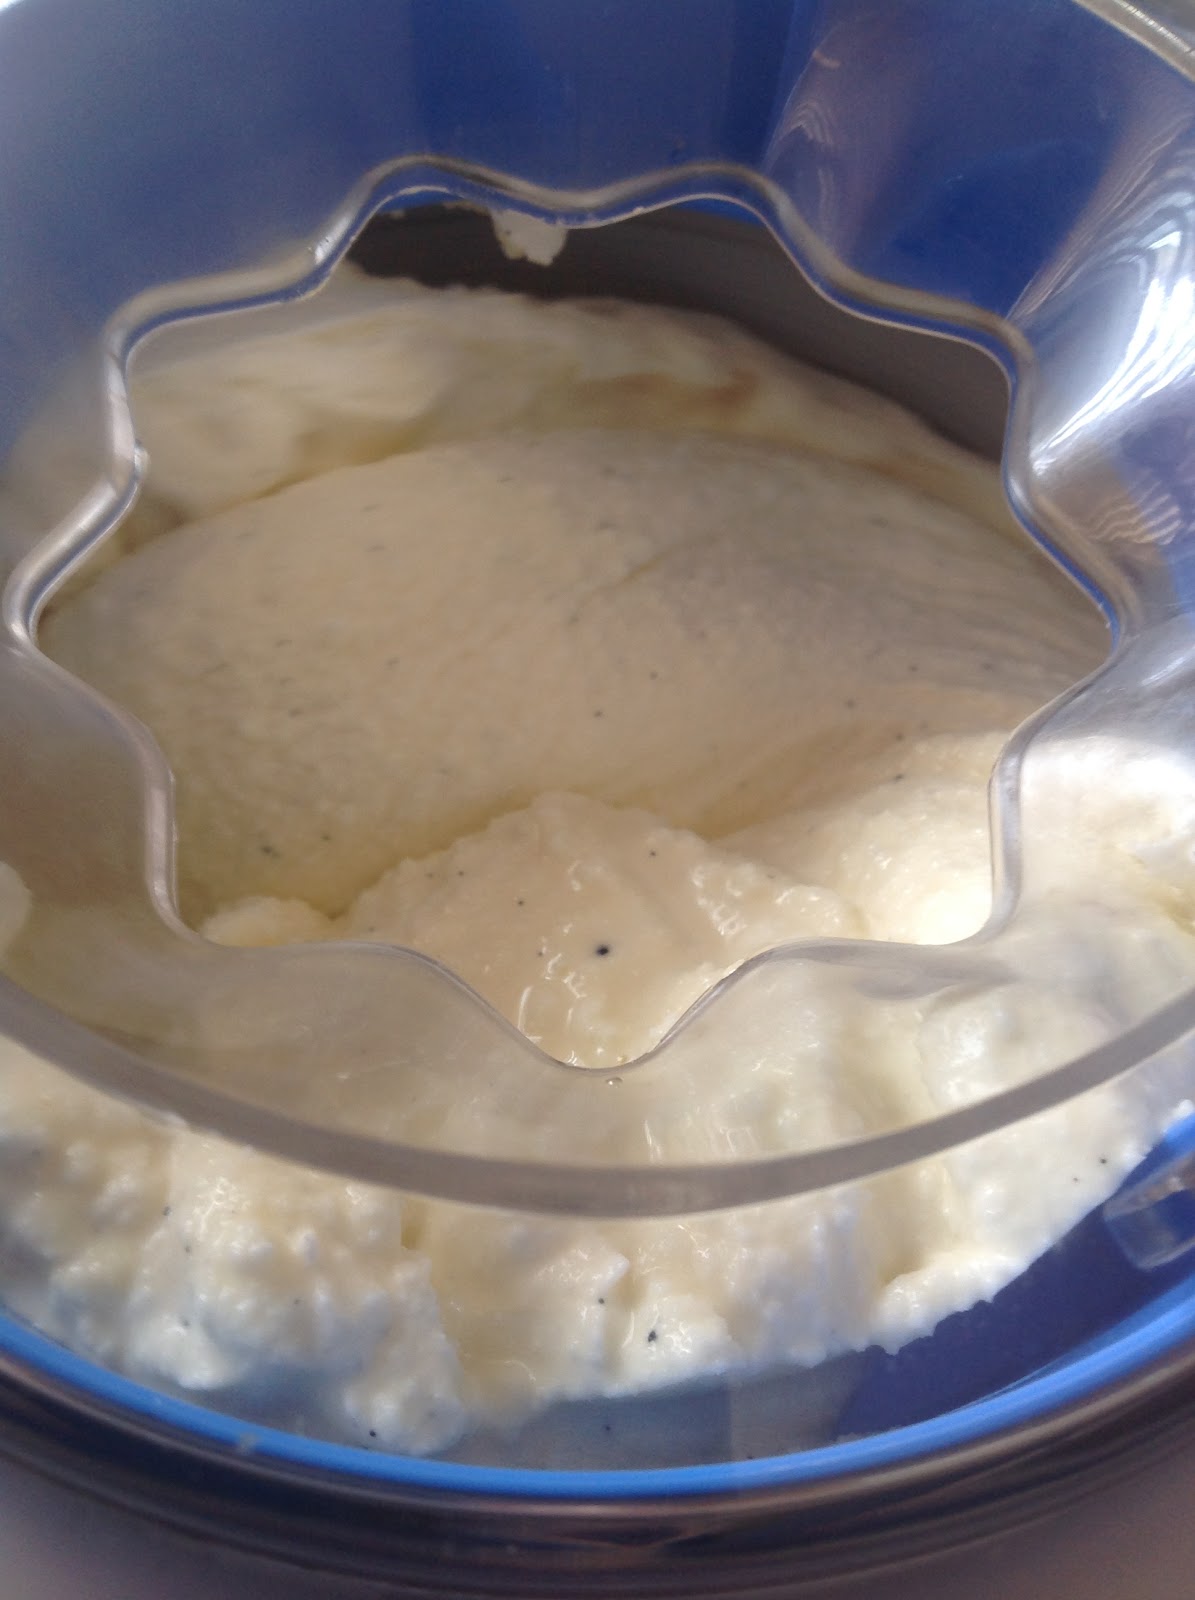
1 carton (300ml) sour cream (I used cream for this one - to make it for people who want lower fat use lactose free or plain yoghurt in same quantity)
2T caster sugar OR if using the GF cake mix add the sachet of icing mixture
METHOD
1. Preheat oven to 180C.
2. Combine cake mix and butter and press into a 20cm lined and greased tin (I used a circle this time but often use a square tin and cut it as a slice).
3. Bake for 15-20 minutes or till firm to touch.
4. Spread the fruit across the base and pat down with hand to remove air spaces. Cover base with fruit.
4. In a separate bowl add all the topping ingredients and whisk together till well combined. Pour over the top of the fruit.
5. At this stage you can sprinkle the topping with cinnamon if you wish - OPTIONAL.
6. Return to oven and bake for 15-20 minutes or till the slice is firm and is starting to come away from the tin at the sides.
7. I usually chill this in the tin in the fridge or allow to cool in the pan before cutting.
8. Serve with syrup and ice cream YUM! OR just cut up and serve as is as a slice for a party! But maybe sprinkle the cinnamon over with a little sugar before you do.
After this you can heat up the liquid from the poaching and cook till syrupy BUT if you are in need of a fool proof poaching recipe that is quick and easy try this:
POACHING RECIPE
INGREDIENTS
1 cup sugar
1 cup of liquid (I used 1/2 cup strawberry wine and 1/2 cup red wine vinegar) ( you can use water and cinnamon stick and vanilla - depends what flavour fruit you are using)
500g fruit washed and quartered or halved depending on size
METHOD
1. Place liquid and sugar into a saucepan and bring to the boil till sugar is dissolved.
2. Add the fruit and simmer for 8 minutes or till slightly softened.
3. Remove fruit making sure the liquid stays behind in the pan. (use the fruit as stated in the slice recipe).
4. Bring the liquid to the rapid boil for 5 minutes. Reduce heat and simmer for another 8 minutes.
5. Remove from heat and allow to come to room temperature.
6. If not using on the day, leave in fridge and warm up before serving, best served at room temperature. Can be made same day as slice.
TO SERVE, pour syrup over slice as you serve each piece or pour over whole slice just before serving. Do not do it too early or base will become sloppy.
I poached extra fruit - halved and sliced peaches and strawberries from Hubbys garden. But you don't have to.
Hope you enjoy this just as much as Hubby and I do!